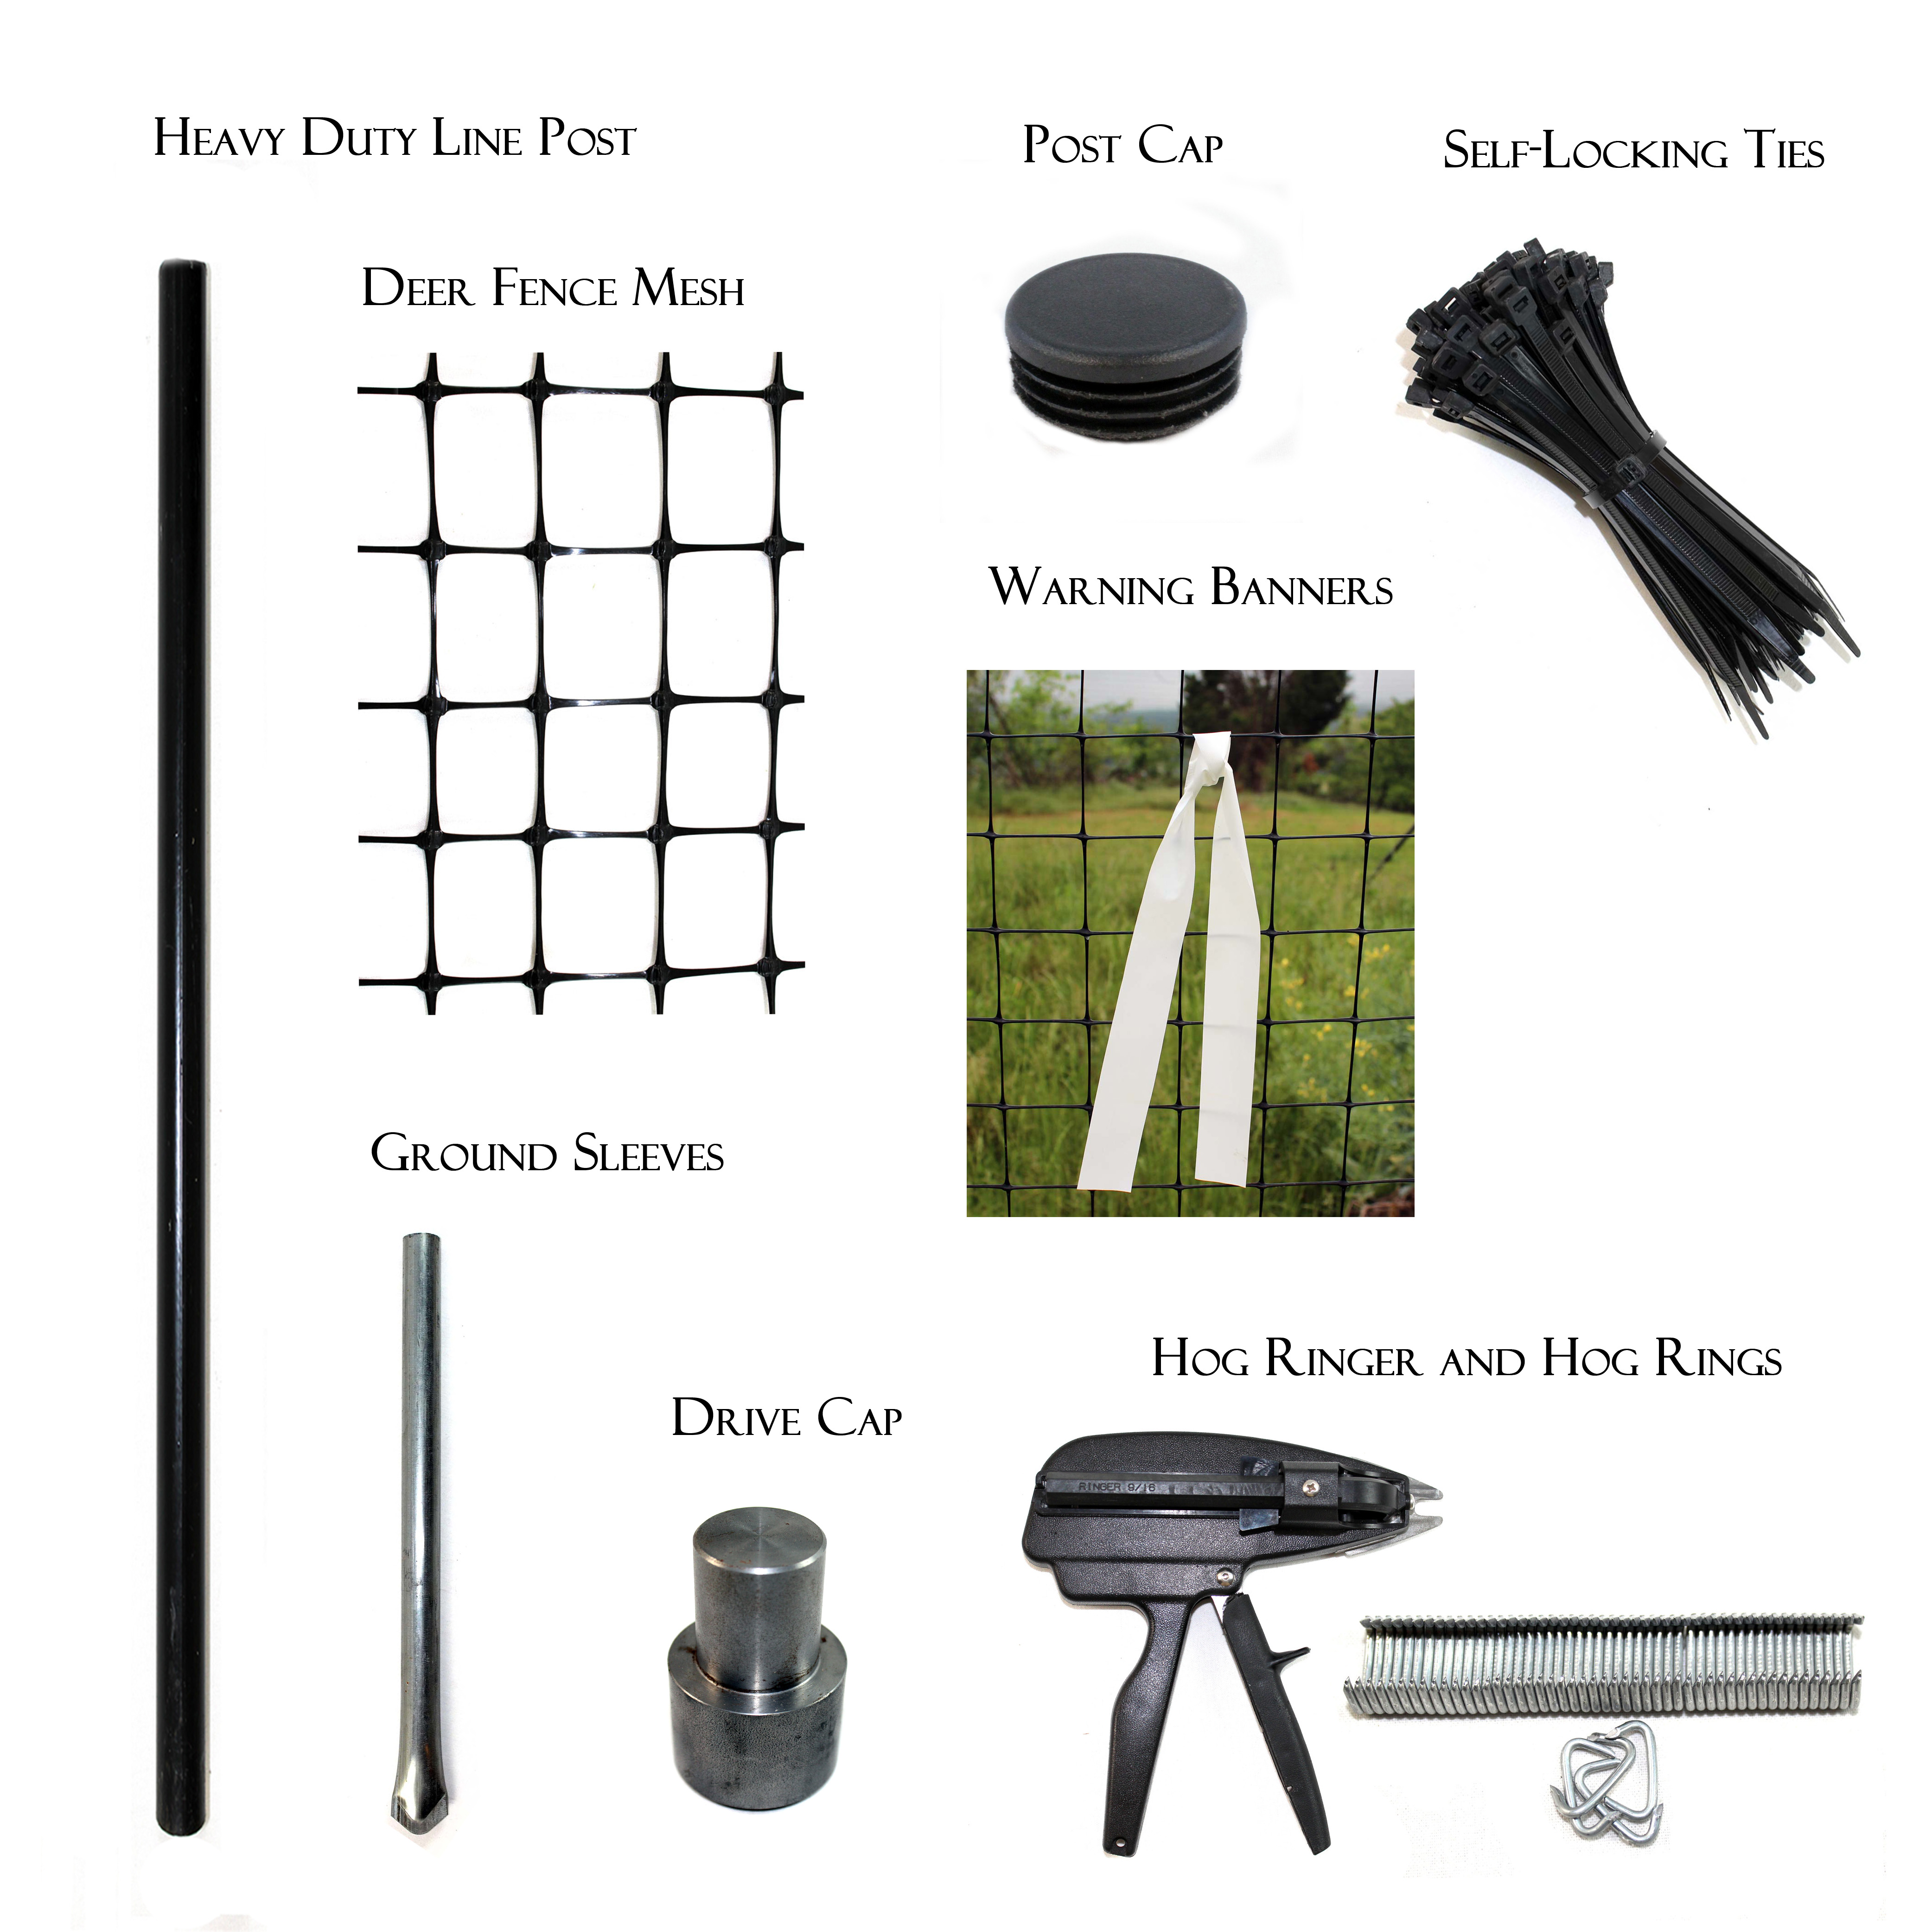
For printable version of instructions with images download the following PDF.
Parts List

Post Installation
Step 1: Place your line posts every 10-15 feet, using the monofilament wire as a guide. There are two kinds of posts you can use, an angled steel post or a heavy duty post.
Step 2: To install an angled steel post, first place the post where you want it. Holding the spring loaded post driver by its handles, use powerful vertical movements to drive the post into the ground. Depending on the final height of your fencing the post should be driven 1-1.5 ft into the ground. If you're using 9ft. angle steel posts for your line posts make every 3rd post a Heavy Duty Deluxe Post.
The Heavy Duty Posts come with Ground Sleeves which is driven into the ground with a Drive Cap (sold separately). The Drive Cap will allow the Ground Sleeve to be driven into the ground without damage. Drive Caps will begin to “mushroom” after continued use. Once the Drive Cap begins to “mushroom” or appear to become deformed, replace with a new Drive Cap.
Place the sleeve along the guide wire where you want to post to be. Use the drive cap and a large hammer or mallet to drive the sleeve all the way into the ground. If you are having trouble driving the post, use an auger to create a pilot hole. Now you can slide your post into the sleeve.
Installing the Fencing
Step 3: In order to keep your fence as taut as possible, you should keep it rolled up, and let it feed out as you go along. Have one person holding the fencing roll, stretching it as tightly as possible. The other person will secure the fence to your line posts using 5-6 self locking ties per post. Use a tie puller and cutter tool to tighten the ties and trim the excess plastic.
Use 8" ties for Deluxe Heavy Duty Posts, and 14" ties for Driveway Gate Ends and End or Corner Posts. Use 8 inch Self Locking Ties to secure Angle Steel Posts to the fence. If you need to use more than one roll of fencing, overlap the ends by several feet and fasten with Hog Rings.
Step 4: Once all the fencing is in place and securely tightened to the posts you can attach the top and bottom to the monofilament wire with hog rings. Hog rings should be used approximately every 3 feet. This gives the fence greater stability and keeps it from sagging. Hog Ring Pliers (sold separately) will allow for the proper stapling of the Hog Ring to the Fence.
Step 5: Ground stakes are very important part in the installation of your deer fence. Deer will often try to push under your deer fence to get to your plants and garden. Secure the bottom of the fence with ground stakes placed approximately every 5 feet along the fence line. There are two kinds of stakes you can use. The kinked stake is for normal soils. The heavy-duty rebar stake is ideal for rocky or clay soils.
Step 6: Finally, you should put warning banners half-way up the fence. This lets the deer see the fence so they don’t hit it. Deer fence warning banners are 1 in wide and cut into (50) 24 inch sections. We recommend that you tie 1 pre cut strip every 10 ft at the 4 ft level to warn deer that the deer fence is present. Deer may accidentally hit the newly installed fence at night if warning banners are not used.
